Welcome to TNW Basics, a collection of tips, guides, and advice on how to easily get the most out of your gadgets, apps, and other stuff.
I had long thought about it, but I could never justify investing in a desktop PC. I feared it would mostly end up sitting idle at my desk, as its value and performance continue to depreciate. “I’m better off buying a beefy laptop,” I kept telling myself. But I was wrong all along.
It’s been a little over a month since I gathered the courage to put together a rig, and I couldn’t be happier about my choice. It’s not only been a pleasure to use it for work, but it’s also rekindled my love for gaming, which has been a refreshing addition to my daily routine.
As fun as it was to assemble my very first PC, there were quite a few things that went wrong in the process. In this piece, I wanted to share some of those hiccups, and also offer some tips on how to avoid them.

The 💜 of EU tech
The latest rumblings from the EU tech scene, a story from our wise ol' founder Boris, and some questionable AI art. It's free, every week, in your inbox. Sign up now!
To be clear, this isn’t an all-encompassing instructable on how to build a PC — it’s merely a few tips on how to approach the process. You’ll still have to do most of the legwork yourself.
I’m not by any stretch a pro PC builder, these are merely some reflections on the issues I encountered, and the steps I took to resolve them. You won’t learn anything new if you build PCs for living (or even as hobbyists), these are just basic suggestions for newbie builders like myself.
Know what you want and stay in your lane
There’s always going to be a never-ending list of things you can do better with your build, but it’s important to stick to your actual needs and budget. I can’t stress this enough.
The first thing you should do before picking the parts for your PC is outline what you need it for. That’ll help you better plan your budget, and also steer your purchasing decisions in the right direction when you inevitably realize you will have to compromise on certain aspects.
For instance, sometimes it’ll make sense to splurge more on a CPU, while skimping on a GPU. I ended up doing that myself. I invested more in a CPU, because upgrading a GPU involves less moving parts (and I won’t have to worry about motherboard compatibility). That won’t necessarily be the case for you, but you get my point.
The same goes for features. One thing I wanted to do early on with my build is liquid cooling. It looks cool, it does an excellent job of keeping temperatures down, and it is significantly quieter than air coolers — especially if done right. Here’s the issue, though: liquid cooling is tough to do right — and fudging it up can lead to some costly mistakes. Just ask Reddit about it.
That’s not to say you should avoid such hardware decisions at all costs, but you should (in the very least) be aware of the pros and cons. Personally, I went with an air cooler for peace of mind.
Picking the right parts
This is where things get serious. If you fall in the category of “window-shopping hardware enthusiast,” chances are you’ve been closely following the PC market, and know precisely what parts you want and why. But if that sounds nothing like you, you might find the part-picking process overwhelming — even more so if you haven’t got the slightest clue what you’re looking at.
As someone who fits right between those two categories, I found it useful to browse through the builds other people with needs similar to mine had already assembled. The BuildAPC and the BuildAPCForMe subreddits are great places to start. I won’t blindly trust everything I hear there, but I’ve used Redditors’ suggestions as a takeoff point for my own research.
Once I had a good idea of the type of hardware I need, I headed to PCPartpicker to choose the parts for my build.
For those unfamiliar, PCPartpicker is a comparison tool for PC parts — it’s pretty popular on Reddit, actually. It has a list of components that you can fill in one by one. It also pulls up a ton of options for each component, including alternatives from different brands.
The most useful thing about it, though, is that it also checks whether the parts you’ve selected are compatible. If that’s not the case, it’ll display a warning at the bottom of your list, and explain which parts you need to replace and why. Pretty nifty.
You can also view the builds other people made to compare them to yours, or find out what worked for them and what didn’t.
Once you’ve selected all parts for your PC, don’t rush to order them right away. It might be worth circling back to Reddit and getting a second opinion on your build from BuildAPC and BuildAPCForMe. From my experience, people there have been pretty helpful with suggesting ways to get more bang for my buck — or avoid hardware choices I’ll regret in the future.
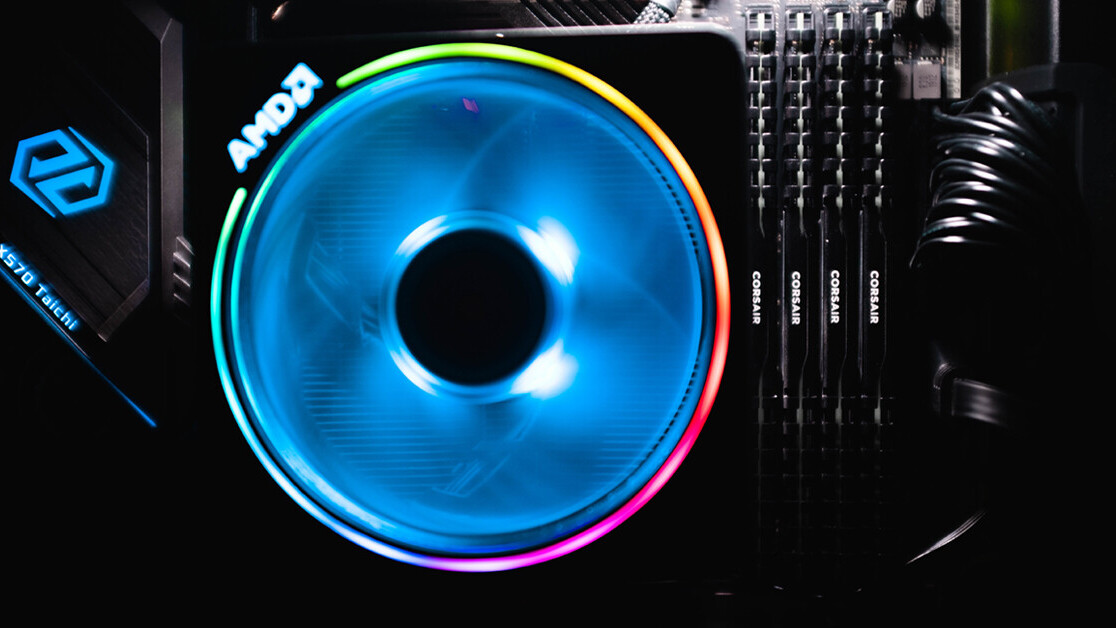
Make sure your memory plays nice with your motherboard
I’m not sure if PCPartpicker does that for you, but it never hurts to double-check your RAM of choice is compatible with your motherboard — especially because you want to avoid the nuisance of having to return parts.
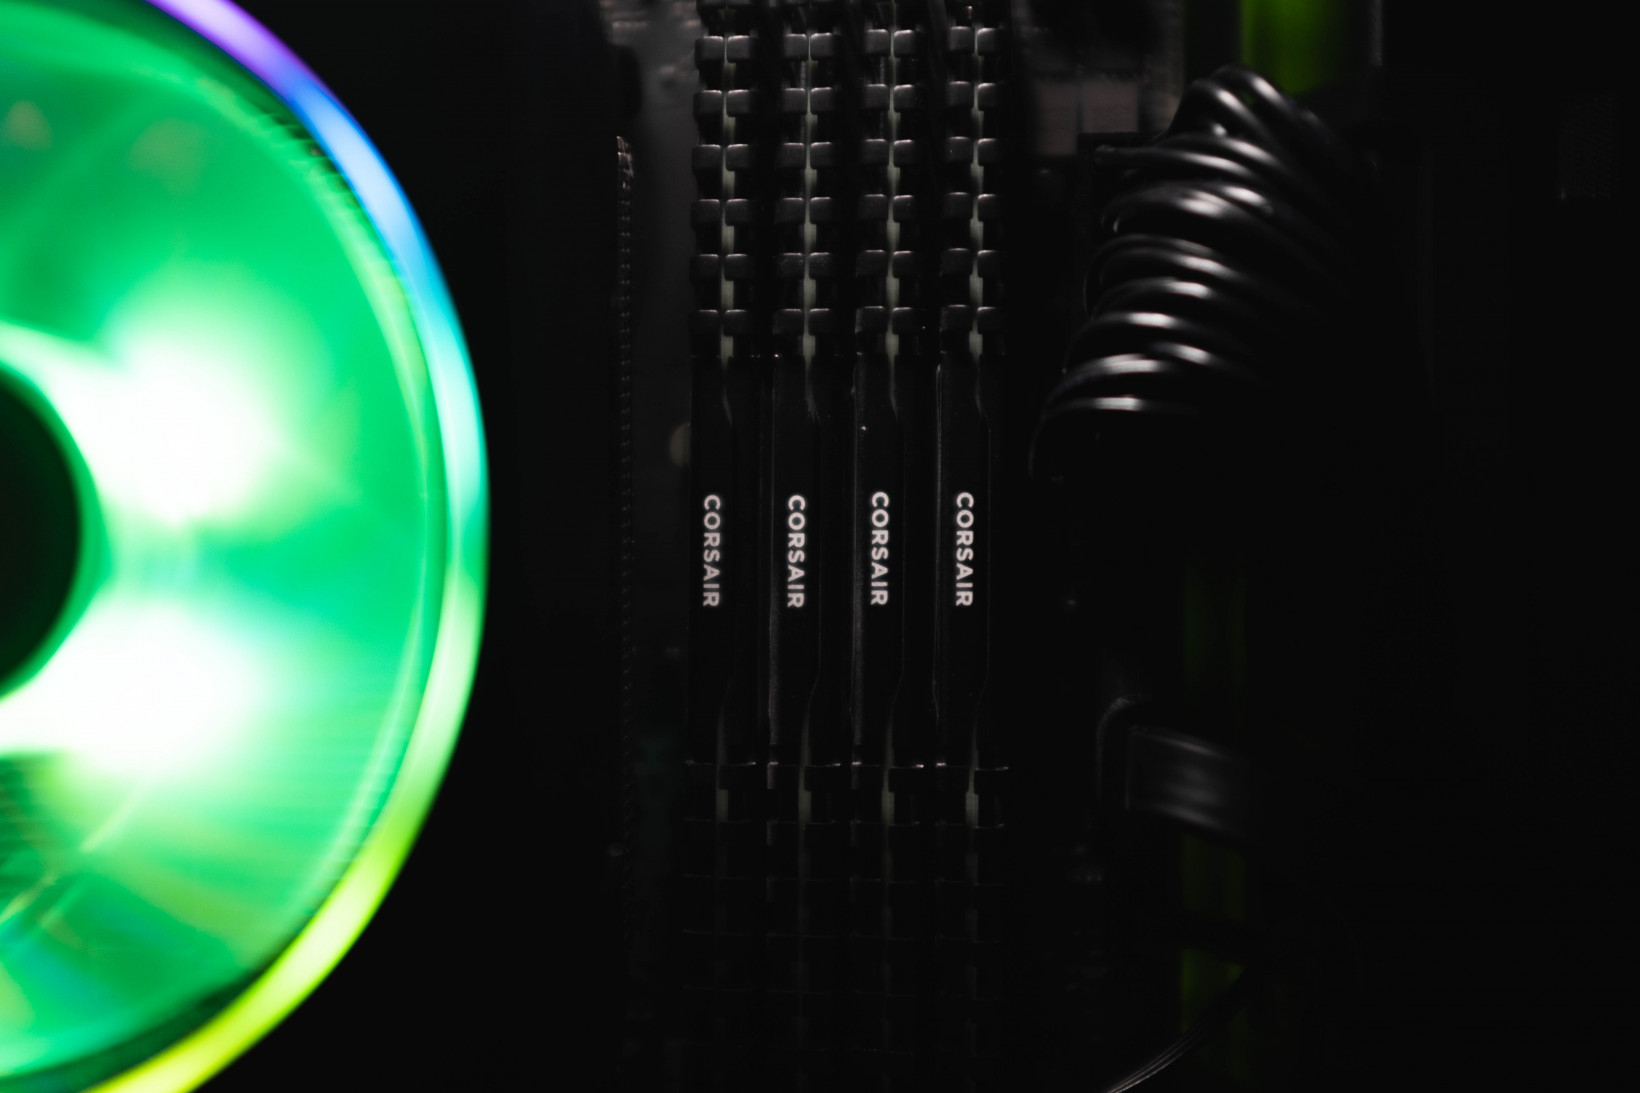
Manufacturers often put up a list of memory sticks they’ve tested with a motherboard, and guarantees they’ll pair nicely with. These are more commonly known as Quality Vendor Lists (QVL), and can be found on your manufacturers official site (pro-tip: look in the support section).
Watch tutorials, but also read the manual
You’ve finally received everything you need for your rig, but you’re suddenly getting the cold feet. “I’m gonna mess this up,” you might be thinking. Building your very first PC could feel a little intimidating, but it’s a lot easier than it seems — especially if you’ve prepared well.
A big part of the prep process is learning what not to do. Fortunately, The Verge has (unintentionally) created the ultimate guide to things you should avoid while building a PC (like thermal paste bukkake, to borrow a term from one reaction video). Make sure to watch the reaction video, so you can learn what The Verge got wrong, though.
Really though, there’s plenty of step-by-step guides to follow.
I watched a couple of walkthrough videos on how to build your first PC — one from Bitwit and one from KristoferYee. Now, chances are the process will vary depending on what parts you’ve chosen, but these tutorials should give you a pretty good basis. They cover most of the essentials.
For the specifics, though, you will have to consult with your manual. This is particularly true when it comes to installing the motherboard. Your case will come with a swath of cables — for buttons, ports, lights, and so on — you need to connect to the motherboard. You’ll find where each of these has to go in the manual. Trust me, it’ll save you tons of time.
Another thing to remember is that not all slots on your motherboard are equal. For instance, if your motherboard has four memory slots, but you only have two sticks, you should consult with the manual on which slots will give you better performance.
The same goes for storage drives, by the way. In some cases, the manufacturer would specify a priority slot which supports faster read and write speeds (or rather, has less bottlenecks).
Don’t cut corners on cable management and ventilation
Have you noticed how those flashy PC builds you see in videos and magazines always have the tidiest appearance, with hardly any cables sticking out? Well, it’s not only for vanity.
Cable management is of the essence when it comes to the longevity of your machine. In addition to a clean look, well-organized cables also make it easier to deal with dust and avoid overheating. Generally speaking, the goal is to route the cables to their respective ports in the most efficient way (while also avoiding clutter).
Just a heads-up: You better stock up on velcro strips and twist ties, because you’ll need them.
One thing to keep in mind is making sure your cables aren’t in the way of your fans. That way, you’ll avoid ventilation issues.
And while we’re at the topic of ventilation, getting your case airflow right is integral to a smooth-running system, too.
If your PC is acting erratically, check your RAM
This is mostly anecdotal, but my memory sticks ended up being the culprit for most of the hiccups I had. Funny enough, each time I went to Reddit or Discord for troubleshooting advice, the first tip I’d get was to make sure my RAM was properly installed.
Right after I finished assembling my machine, I couldn’t get a post screen until I tried turning the machine on with one stick installed only, and gradually adding a stick on each reboot until all of them were working fine.
A week later, I began experiencing a slew of technical issues, and I couldn’t quite pinpoint the cause. My built-in Wi-Fi would intermittently cut out, I’d get various SSD-related errors, and I’d occasionally run into a blue screen of death. I later discovered that my RAM wouldn’t perform well at its advertised overclocking speed (more on that below).
Anyways, your memory won’t always be the source of trouble, but you might end up saving yourself time if you start your troubleshooting process with the RAM.
Stress-test early to avoid issues later
One mistake I realized I made only after it was too late was not to stress-test my rig immediately after I finished putting it together.
Long story short, it took me a week to put some serious load on my PC (it actually happened by accident, not on purpose), enough to realize that it folds under the pressure.
It turned out there were no hardware issues at the end (just a few adjustments in the BIOS), but it was a bit of a bummer to go back to troubleshooting when I thought I was past all the trouble.
After failing several stress tests in Blender Benchmark, I eventually noticed that my build was unstable when my memory sticks were running at 3,600 MHz. Through trial and error, I was able to stabilize things at 3,533 MHz and I haven’t had any issues since.
Get ready to troubleshoot for hours
If you got the post screen and your PC passed the stress tests, great! But if you didn’t — you better roll up your sleeves because troubleshooting might take a while.
The goal of this exercise is to identify what’s stopping your PC from running as it should. In some cases, it would be a mistake you made while assembling it — like forgetting to plug a cable or plugging it in the wrong port — but every once in a while you’d be dealing with faulty hardware. Still, you want to make sure something is broken before you send it back.
LinusTechTips has a video on troubleshooting no-post issues that I found quite helpful. It’s a few years old, so your parts might look a little different than his, but the principle remains the same.
One thing I’d recommend when it comes to troubleshooting is to exercise patience. You want to be thorough and remove (or add) only a single component at a time. That way, it’ll be easier to identify the source of your technical difficulties.
This approach will feel like a hassle at times, especially if nothing seems to work at first, but you’ll be glad you did it this way once you’ve successfully diagnosed the shortcoming(s).
No pain, no gain
That’s about it. Like I already said, this is by no means a comprehensive guide, so you might run into issues I haven’t covered here. The important thing is to remain calm and seek a solution methodically.
My only advice in those cases is to avoid panicking. Instead, you’ll be better off taking your time to properly research an issue, and find the best way to tackle it.
Yes, technical difficulties might suck up a lot of your time, but I promise it’ll be worth it once everything runs smoothly.
Also, there’s an indescribable feeling of pleasure from building your first PC — even more so when you’ve had to go through some hurdles.
Get the TNW newsletter
Get the most important tech news in your inbox each week.